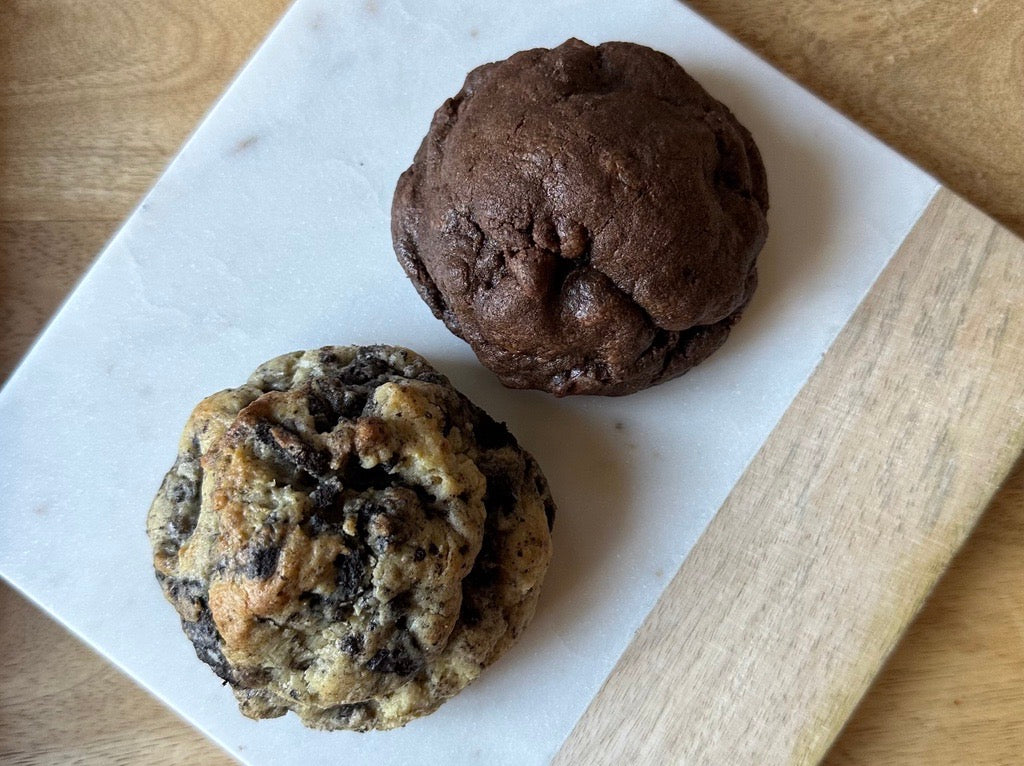
Baking cookies from scratch can be a fun and rewarding experience to do with family or to wow friends at a party. The simple yet scrumptious treats are always a fan-favorite. However, we also eat with our eyes. Making cookies delicious AND uniform? Well, that’s the challenge.
Like most baking treats, cookies don’t always turn out looking consistently the way you initially envisioned it. Follow our steps below to create Instagram-worthy picture-perfect cookies that your eyes will eat up!
Follow recipe measurements to the tee
When it comes to baking — whether that’s cookies or cakes or bread — precision matters. Confusing a teaspoon for a tablespoon, or forgetting a stick of butter, can make all the difference and turn your baked cookie into an unappealing (or worst, inedible) disaster. Most recipes have been tested hundreds or thousands of times. We’ve all heard this before but I’ll say it again: Follow the instructions.
The one caveat to this rule is if you did in fact follow the recipe previously, and understand which slight tweak can enhance the final product.
Do not overmix batter
Cookie dough batter can be quite fragile. Undermixing will leave you with uneven distribution of ingredients leaving some cookies completely deformed. Knowing that, it’s easy to “be on the safe side” and overmix. That’s a big no-no for cookie dough. Overmixing will give you deflated and flattened cookies that no one wants to see or eat.
The challenge: How do you know when to stop mixing?
The truth is — don’t overthink it. Once you notice your ingredients are well incorporated, the mixing is done. To play it safe, especially with small batches, mix with a whisk or hand mixer instead of stand mixers. Eventually after a few rounds of mixings, it will become second nature to know when the mixing is completed
Weigh your dough balls evenly
A simple low cost kitchen scale goes a long way. Determine the size of the cookies you want. For reference, most of our From The Hart Cookies weigh 5 ounces. Go with that if you want big, cakey (and delicious) cookies. If your goal is a smaller, crispy cookie, you may want to consider making 2-ounce cookie dough balls.
Refrigerate cookie dough
A main ingredient in cookie dough is butter, and depending on the recipe, a lot of it. If the butter is too warm, it’ll melt faster and potentially ruin the cookies and their shape. It’s best to chill the cookie dough for at least 30 minutes before baking (and there’s no harm in refrigerating the dough for days).
Use a cold cookie sheet
In addition to cooling the dough, you also want your baking sheet to be chilled, as well. A warm baking sheet will lead to the bottom of the cookies baking faster than the rest of the dough. And, you face the risk of them burning.
Do not overcrowd cookie sheet
While baking, your cookie dough will transition into actual cookies. As they take shape, they expand. Make sure you space the cookie dough with enough room for them to grow without touching. Depending on the size of the cookies will determine how much space they need. A safe rule of thumb: at least two inches between each cookie.
Bake cookies in middle rack of oven
Unfortunately, most home ovens do not distribute heat evenly. To avoid cookies on one side of the baking sheet baking at a different temperature than the other, consider placing the baking sheet in the middle of the rack. That’s where the heat will be distributed most evenly and consistently.
Reshape cookie right out of the oven
Even if you follow all of the above steps, your cookies may not all look exactly the same, but fear not. This one clever hack will resolve your using: you can form the cookie immediately after taking them out of the oven. While they are still on the baking sheet, use a flat-edge spatula to gently pat and form the sides of the cookies until they are shaped into perfect circles. Because the cookies are still hot, you can shape them without breaking. This cannot be done once the cookies have cooled.
Let cookies cool on cooking rack
While tempting to eat, or package, your cookies right after they bake, it’s best to wait because they are still hot. Allow them enough time to cool. The baking sheet is hot, as well, and will continue to cook the bottom of your cookies. After a few minutes of cooling on the baking sheet, transfer the cookies to a cooling rack to allow them to cool more evenly.
RELATED: 5 Ways To Reheat Cookies To A Warm And Gooey Perfection

